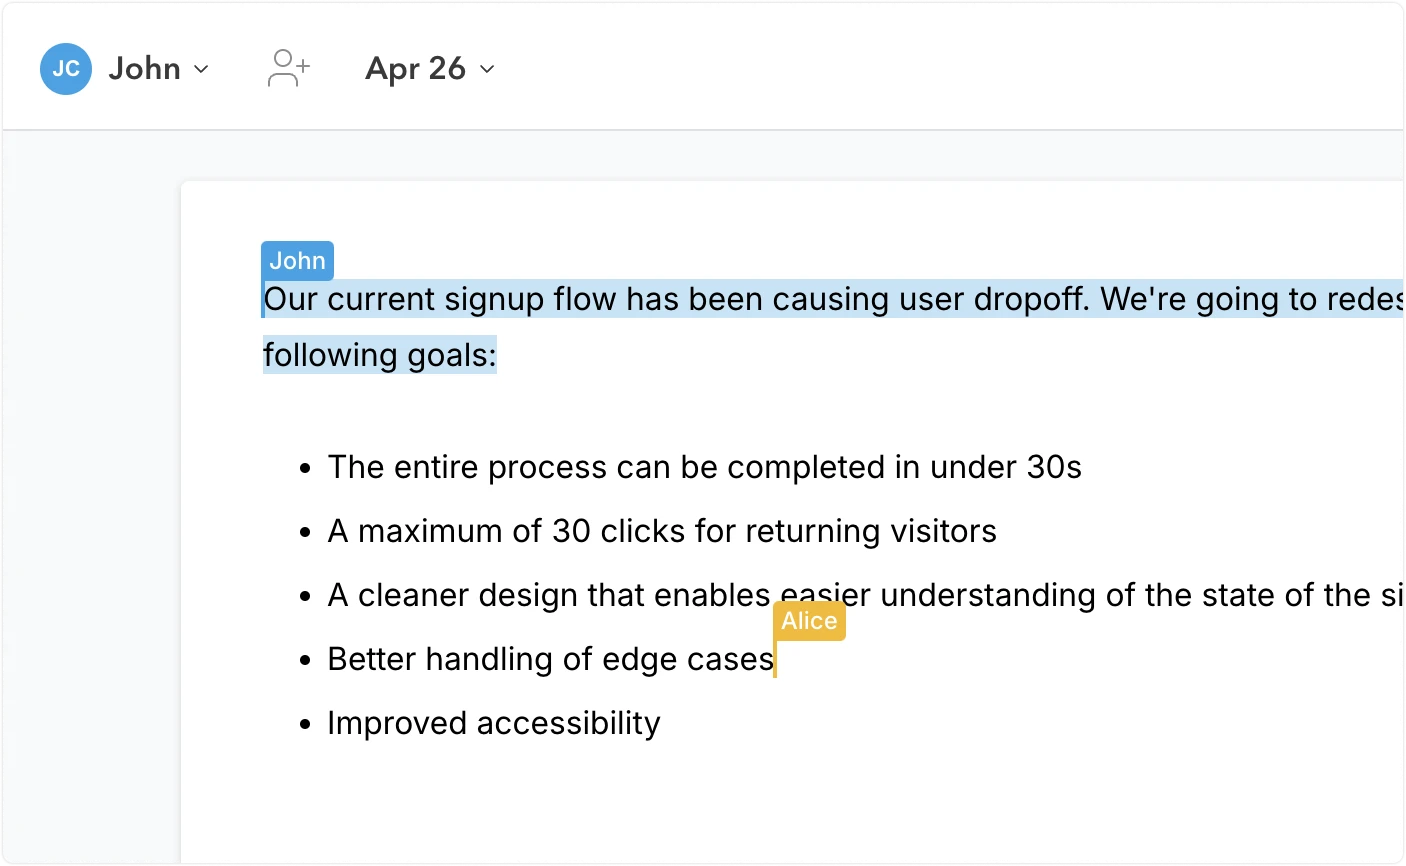
At the center of every topic's page is a real-time, collaborative document. It's the best place to capture the context that people working on the topic will need, both for now and for the future. Things like:
- An overview of what needs to be done
- Why the work is being done in the first place
- Links to resources in other systems
Topic descriptions are entirely optional. After all, sometimes a topic's context is completely clear just from the title!
When you do decide to write a description, you can draft it entirely on your own, or you can collaborate live with your team.

Here are some scenarios where editing in real-time with teammates is helpful:
- Capturing meeting notes: Everyone in a meeting can view the topic and watch in real time as the notetaker captures the notes. They can even make corrections themselves.
- Cross-functional collaboration: A cross-functional team can collaboratively edit a topic’s description to hammer out a shared understanding of the work to be done from each of their perspectives.
- Retrospectives: Using a Flat topic’s description to capture a project’s retrospective is a great way to add to your team’s knowledge base. With collaborative, real-time editing, your team can hash out the retrospective in a joint “jam session”.
Step-by-step
Collaborative editing
A topic's description is a fully collaborative, real-time document right out-of-the-box. To edit a topic’s description, just start typing. Multiple users on your team can view and edit a topic's description at the same time, and everyone's edits are synchronized and merged automatically.
Formatting
Formatting toolbar
To access the formatting toolbar, click into the topic's description, then click the formatting icon that appears in the upper right corner of the document.
Keyboard shortcuts
The editor recognizes all of the common formatting keyboard shortcuts you'd expect:
Ctrl/CmdBto toggle boldCtrl/CmdIto toggle italicsCtrl/CmdShiftXto toggle strikethroughCtrl/CmdEto toggle monospace text / codeTabwhile in a list item to indent, andShiftTabwhile in a list item to dedentCtrl/CmdKto insert a link or make selected text a linkCtrl/CmdZto undo andCtrl/CmdShiftZto redo
Markdown
The editor recognizes basic Markdown syntax formatting:
**text**for bold text*text*or_text_for italic text~text~or~~text~~for strikethrough text`text`for monospace text / code#,##,###,####,#####, or######at the beginning of a line for headings at different levels>at the beginning of a line for a block quote-or*at the beginning of a line for a bulleted list1.at the beginning of a line for a numbered list---at the beginning of a line for a horizontal divider- ``` at the beginning of a line, then
Enter, for a code block
Adding emoji
You can insert emojis by typing : followed by the emoji's name or alias, such as :+1: or :thumbsup: for :thumbsup:. Or type : and a portion of the emoji's name, then select the emoji you want from the dropdown picker.
Inserting images
To add an image, click the image icon in the toolbar or just drag and drop an image from your computer into the editor area.
Referencing other topics
You can reference another topic by typing # followed by the topic's ID. Or type # and a portion of the topic's ID, title, labels, etc., then select the topic from the dropdown picker.